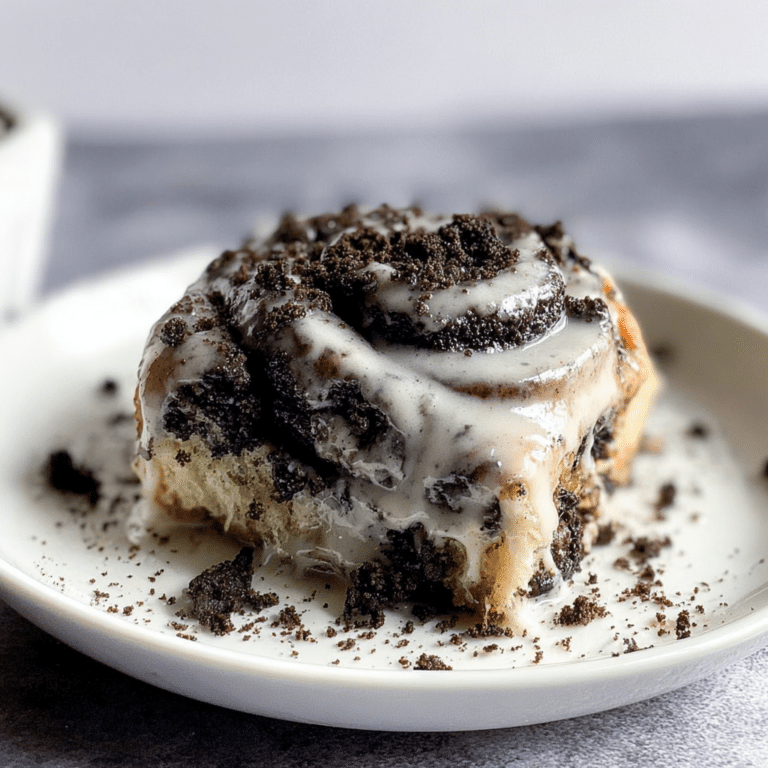
Sticky Coconut Cake

If you’re craving a tropical delight that melts in your mouth, then you’re in for a treat with this Sticky Coconut Cake. This dessert is a celebration of rich coconut flavor paired with a perfectly moist texture that feels almost sticky, making each bite more irresistible than the last. Whether you’re serving it at a casual gathering or just treating yourself to something special, this Sticky Coconut Cake recipe brings bold, natural sweetness with a satisfying density that truly shines through every layer. Let’s dive into how you can create this unforgettable tropical treat in your own kitchen!
Why You’ll Love This Recipe
- Effortless to Make: This recipe uses simple ingredients and straightforward steps that anyone can follow for guaranteed success.
- Moist and Flavorful: The unique sticky texture ensures every bite is bursting with rich coconut taste and satisfying softness.
- Perfect for Any Occasion: Whether it’s a party, holiday, or casual dessert, Sticky Coconut Cake stands out and delights all ages.
- Customize It Easily: You can tweak it with add-ins or toppings to suit your preferences without losing its essential flavor.
- Great Balance of Sweetness: The cake isn’t overwhelmingly sugary but just right to highlight natural coconut flavors.
Ingredients You’ll Need
The magic behind Sticky Coconut Cake lies in a handful of simple yet essential ingredients, each playing a special role. From the creamy coconut milk enriching the batter to the shredded coconut adding texture, these basics combine to create a wonderfully balanced dessert.
- All-Purpose Flour: Provides the structure and foundation of the cake’s texture.
- Sugar: Adds sweetness to perfectly complement the coconut flavors.
- Baking Powder: Helps the cake rise, keeping it light despite its sticky nature.
- Eggs: Bind the ingredients and contribute to the cake’s moistness.
- Coconut Milk: Infuses deep tropical flavor and richness that make this cake special.
- Shredded Coconut: Adds texture and amplifies the coconut punch with every bite.
- Butter: Provides richness and enhances the cake’s tenderness.
- Vanilla Extract: Balances the flavors with a warm, sweet aroma.
Variations for Sticky Coconut Cake
One of the best parts about making Sticky Coconut Cake is how easy it is to customize. Whether you want to tweak the texture, accommodate dietary needs, or simply add a fun twist, these ideas can help you create your perfect version.
- Tropical Fruits: Add pineapple or mango chunks for an extra burst of tropical flavor.
- Gluten-Free Version: Substitute the all-purpose flour with a gluten-free blend without sacrificing texture.
- Vegan Option: Use flax eggs and coconut oil instead of butter for a vegan-friendly cake.
- Chocolate Drizzle: Finish the cake with a rich chocolate glaze for a decadent contrast.
- Toasted Coconut Topping: Sprinkle toasted shredded coconut on top for added crunch and flavor depth.

How to Make Sticky Coconut Cake
Step 1: Prepare Your Ingredients
Measure out all your ingredients and preheat your oven to 350°F (175°C). Grease and flour your cake pan to ensure the cake releases easily after baking.
Step 2: Mix Dry Ingredients
In a large bowl, combine the flour, sugar, and baking powder. Whisk together to evenly distribute the leavening agent and sugar throughout the flour.
Step 3: Combine Wet Ingredients
In a separate bowl, beat the eggs lightly. Add melted butter, coconut milk, and vanilla extract, mixing until smooth and well combined.
Step 4: Bring It All Together
Gradually add the wet mixture to the dry ingredients, stirring gently until mostly combined. Fold in the shredded coconut carefully to maintain texture.
Step 5: Bake the Cake
Pour the batter into your prepared pan and bake for 40-45 minutes, or until a toothpick inserted in the center comes out clean. The cake should be moist but set on top.
Step 6: Cool and Serve
Allow the cake to cool in the pan for about 15 minutes, then transfer it to a wire rack to cool completely. This keeps the texture intact and lets the sticky goodness set properly.
Pro Tips for Making Sticky Coconut Cake
- Use Full-Fat Coconut Milk: It provides richer flavor and creamier texture compared to light versions.
- Don’t Overmix: Mix the batter until ingredients just combine to avoid a dense cake.
- Fresh Shredded Coconut: Using fresh or unsweetened shredded coconut adds a natural taste and prevents excess sweetness.
- Check Oven Temperature: Bake at the right temperature; too hot can dry the cake, too low prolongs baking time unnecessarily.
- Allow Time to Cool: Cooling the cake properly helps the sticky texture to develop fully and improves slicing.
How to Serve Sticky Coconut Cake
Garnishes
Top your Sticky Coconut Cake with a light dusting of powdered sugar or a sprinkle of toasted shredded coconut to enhance visual appeal and add a subtle crunch to every bite.
Side Dishes
Pair it with fresh tropical fruits like pineapple slices or mango chunks, or a scoop of vanilla ice cream to balance texture and temperature wonderfully.
Creative Ways to Present
Slice and serve the cake in individual portions topped with whipped cream and a drizzle of honey or passion fruit syrup for a festive, colorful presentation.
Make Ahead and Storage
Storing Leftovers
Store leftover Sticky Coconut Cake in an airtight container at room temperature for up to two days, or refrigerate to keep it fresh for up to five days without losing moisture.
Freezing
Wrap the cake tightly in plastic wrap and foil, then freeze for up to two months. Thaw in the refrigerator overnight before serving to maintain its texture and flavor.
Reheating
Warm slices gently in a microwave for 15-20 seconds or in a low oven (300°F/150°C) for 10 minutes to restore that fresh-baked softness and sticky texture.
FAQs
Can I use desiccated coconut instead of shredded coconut?
Yes, desiccated coconut can work, but shredded coconut provides more texture and a more pronounced coconut flavor, which is key for the Sticky Coconut Cake’s signature mouthfeel.
Is Sticky Coconut Cake gluten-free?
Traditional recipes aren’t gluten-free due to all-purpose flour, but you can substitute with gluten-free flour blends to easily make this cake suitable for gluten-sensitive diets.
How long does Sticky Coconut Cake keep fresh?
At room temperature, it stays fresh for about two days, and up to five days refrigerated—ideal if you want to bake ahead or plan for leftovers.
Can I make this cake vegan?
Yes! Replace eggs with flax or chia egg substitutes and use coconut oil instead of butter for a vegan-friendly Sticky Coconut Cake that remains moist and flavorful.
What makes this cake “sticky”?
The combination of moist coconut milk and shredded coconut, along with the baking technique, creates a soft, dense texture that almost clings together, resulting in its signature stickiness.
Final Thoughts
If you’ve been searching for a tropical cake that’s both indulgent and easy to make, Sticky Coconut Cake is your new best friend. Its moist, sticky crumb, rich coconut flavor, and adaptable recipe make it a standout dessert that’s sure to win over family and friends. Ready your ingredients and kitchen tools, because this recipe will become a favorite to bake and share over and over again!
Related Posts
PrintSticky Coconut Cake

Sticky Coconut Cake is a tropical delight featuring a rich coconut flavor paired with a moist, almost sticky texture. This easy-to-make dessert combines creamy coconut milk, shredded coconut, and a perfectly balanced sweetness for an irresistible treat ideal for any occasion.
- Prep Time: 15 minutes
- Cook Time: 40-45 minutes
- Total Time: 55-60 minutes
- Yield: 8-10 servings 1x
- Category: Dessert
- Method: Baking
- Cuisine: Tropical
- Diet: Gluten Free (when using gluten-free flour blend)
Ingredients
Dry Ingredients
- 1 ¾ cups all-purpose flour (or gluten-free flour blend for gluten-free version)
- 1 cup sugar
- 2 teaspoons baking powder
Wet Ingredients
- 2 large eggs (or flax eggs for vegan option)
- ½ cup melted butter (or coconut oil for vegan option)
- 1 cup full-fat coconut milk
- 1 teaspoon vanilla extract
Additional Ingredients
- 1 cup shredded coconut (fresh or unsweetened preferred)
Instructions
- Prepare Your Ingredients: Measure all ingredients and preheat the oven to 350°F (175°C). Grease and flour your cake pan to prevent sticking.
- Mix Dry Ingredients: In a large bowl, whisk together the flour, sugar, and baking powder until evenly combined.
- Combine Wet Ingredients: In a separate bowl, lightly beat the eggs. Add melted butter, coconut milk, and vanilla extract, stirring until smooth.
- Bring It All Together: Gradually add the wet mixture to the dry ingredients, stirring gently until just combined. Fold in the shredded coconut carefully to maintain texture.
- Bake the Cake: Pour batter into the prepared pan and bake for 40-45 minutes or until a toothpick inserted in the center comes out clean. The cake should be moist but set on top.
- Cool and Serve: Let the cake cool in the pan for 15 minutes, then transfer to a wire rack to cool completely to allow the sticky texture to set.
Notes
- Use full-fat coconut milk for richer flavor and creamier texture.
- Mix batter only until ingredients are combined to avoid a dense cake.
- Fresh or unsweetened shredded coconut enhances natural coconut flavor without extra sweetness.
- Maintain proper oven temperature to avoid drying or underbaking the cake.
- Allowing the cake to cool fully helps develop the signature sticky texture and improves slicing.
Nutrition
- Serving Size: 1 slice (based on 10 servings)
- Calories: 280
- Sugar: 18g
- Sodium: 150mg
- Fat: 15g
- Saturated Fat: 12g
- Unsaturated Fat: 3g
- Trans Fat: 0g
- Carbohydrates: 32g
- Fiber: 2g
- Protein: 4g
- Cholesterol: 55mg
Keywords: sticky coconut cake, tropical cake, coconut dessert, moist cake, gluten free coconut cake, vegan coconut cake option