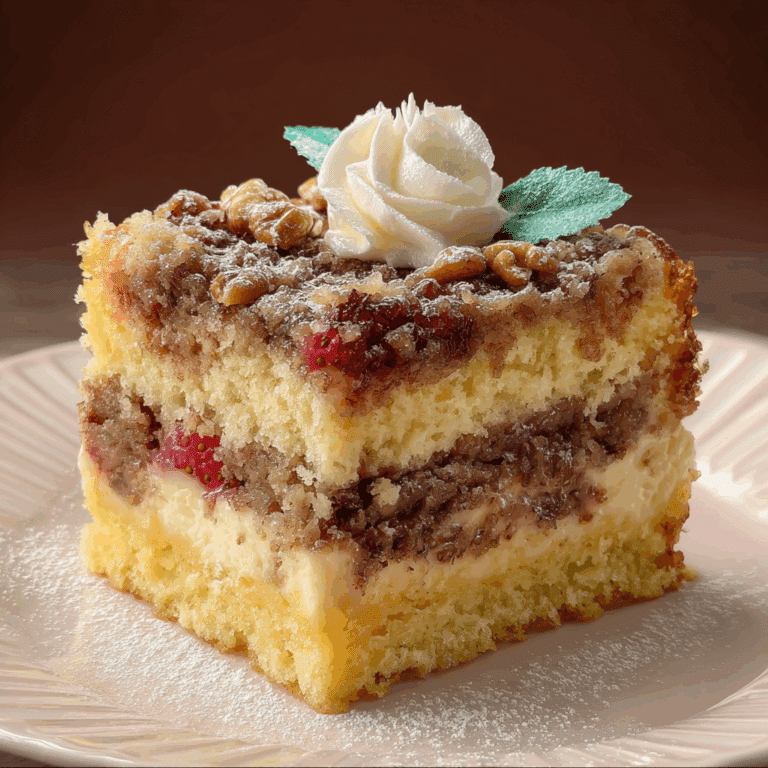
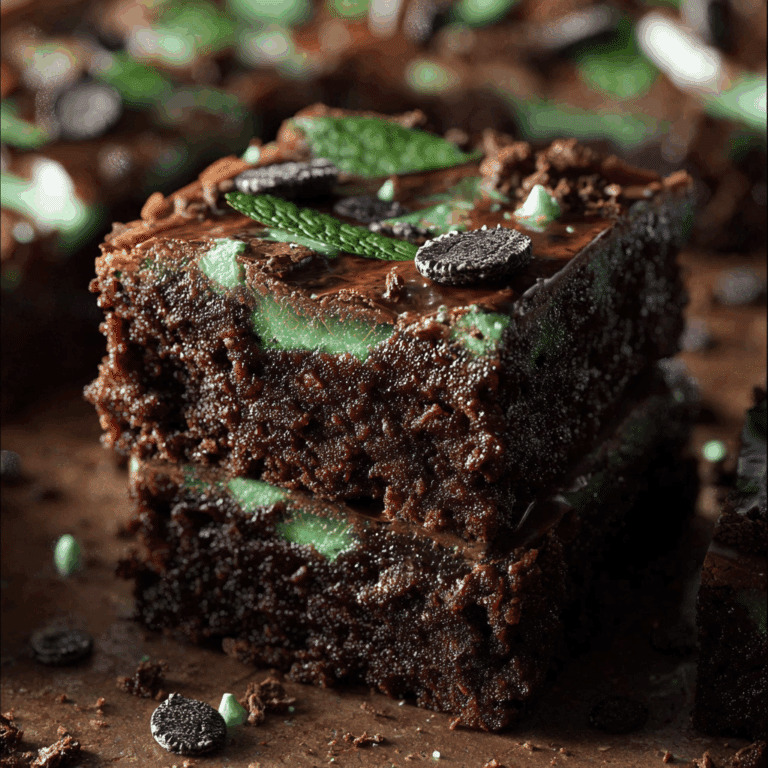
Kit Kat Brownies

Discover the irresistible magic of Kit Kat Brownies, a treat that brings together the rich, fudgy goodness of classic brownies with the crunch of delightful Kit Kat pieces. This combination creates a sensational dessert experience that is both decadent and fun to eat. Whether you’re baking for a special occasion or just because, Kit Kat Brownies are sure to light up any dessert table and satisfy every chocolate lover’s craving.
Why You’ll Love This Recipe
- Ultimate Chocolate Fix: This recipe is packed with rich cocoa and chocolate chunks for an intense, satisfying flavor.
- Crunch Factor: The addition of Kit Kat pieces adds a delightful crunch that balances the soft, fudgy brownie base.
- Easy to Make: Using common ingredients and straightforward steps, it’s perfect for bakers of any skill level.
- Customizable: You can easily infuse your personal touch by changing up the types of chocolate or adding nuts.
- Perfect for Any Occasion: Great for parties, family gatherings, or a cozy night in, these brownies always impress.
Ingredients You’ll Need
This simple list of ingredients combines pantry staples with the star of the show—Kit Kat bars—ensuring a perfect blend of flavors and textures. Each item is carefully chosen to create a rich yet tender brownie topped with crunchy Kit Kat goodness.
- Unsweetened Cocoa Powder: For deep chocolate flavor without added sugar.
- All-Purpose Flour: Provides the structure for tender but firm brownies.
- Granulated Sugar: Adds sweetness and helps keep the brownies moist.
- Butter: Creates richness and a smooth crumb texture.
- Eggs: Bind the ingredients and contribute to the fudgy texture.
- Vanilla Extract: Enhances the chocolate flavor with a touch of warmth.
- Kit Kat Bars: Broken into pieces, these bring the signature crunchy texture and chocolatey layers.
- Salt: Balances sweetness and intensifies the chocolate notes.
Variations for Kit Kat Brownies
Feel free to mix things up with these simple variations that let you customize your Kit Kat Brownies depending on your taste, dietary needs, or what you have available in your pantry. Each variation adds a unique twist without complicating the process.
- Nutty Delight: Add chopped walnuts or pecans for extra crunch and earthiness.
- Peanut Butter Swirl: Drop dollops of peanut butter into the batter before baking for a creamy surprise.
- Vegan Version: Replace butter with coconut oil and eggs with flax eggs to make these brownies vegan-friendly.
- Salted Caramel Touch: Drizzle caramel sauce over the batter and sprinkle with sea salt before baking.
- Different Chocolate Bars: Try substituting Kit Kat with Twix, Snickers, or even plain milk chocolate for a new flavor profile.

How to Make Kit Kat Brownies
Step 1: Prepare Your Ingredients and Oven
Preheat your oven to 350°F (175°C) and grease your baking pan or line it with parchment paper for easy removal. Gather all your ingredients measured and ready, so the mixing process flows smoothly.
Step 2: Melt Butter and Mix with Sugar
In a medium saucepan, gently melt the butter over low heat. Remove from heat and stir in the granulated sugar until combined and slightly cooled.
Step 3: Add Eggs and Vanilla
Beat in the eggs one at a time, mixing well after each addition. Then stir in the vanilla extract to deepen the flavor.
Step 4: Combine Dry Ingredients
In a separate bowl, whisk together the cocoa powder, flour, and salt. Gradually fold this dry mix into the wet ingredients until just combined – don’t overmix to keep the brownies tender.
Step 5: Add Chocolate and Kit Kat Pieces
Gently fold in half of the chopped Kit Kat bars and any additional chocolate chunks or chips you like, saving the other half for topping.
Step 6: Bake and Add Topping
Pour the batter into the prepared pan and spread evenly. Sprinkle the remaining Kit Kat pieces over the top. Bake for 25-30 minutes or until a toothpick inserted near the center comes out with moist crumbs but no raw batter.
Step 7: Cool and Serve
Allow the brownies to cool completely in the pan before slicing. This helps the Kit Kat pieces set nicely and keeps the slices intact.
Pro Tips for Making Kit Kat Brownies
- Room Temperature Eggs: Bring eggs to room temperature for a smoother batter and fluffier brownies.
- Don’t Overmix: Fold dry ingredients gently to avoid tough brownies.
- Use Quality Cocoa: A high-quality cocoa powder makes a noticeable difference in flavor.
- Let Brownies Cool: Wait at least an hour to let the Kit Kat pieces harden for the perfect crunch.
- Chop Kit Kat Evenly: Uniform pieces help distribute that satisfying crunch throughout the brownies.
How to Serve Kit Kat Brownies
Garnishes
Sprinkle extra powdered sugar, drizzle melted chocolate, or add a pinch of flaky sea salt on top for an elevated presentation and flavor boost.
Side Dishes
Pair these brownies with a scoop of vanilla ice cream, fresh berries, or a dollop of whipped cream to balance the richness and add refreshing contrast.
Creative Ways to Present
Cut into small bite-sized squares for parties, arrange on a dessert platter with other chocolate treats, or serve skewered with fresh fruits and marshmallows for a fun twist.
Make Ahead and Storage
Storing Leftovers
Keep leftover Kit Kat Brownies in an airtight container at room temperature for up to three days to maintain their fudgy texture and crunchy topping.
Freezing
Wrap brownies tightly in plastic wrap and foil, and freeze for up to three months. Thaw overnight at room temperature before enjoying.
Reheating
Warm brownies briefly in the microwave for 10-15 seconds to bring back that fresh-out-of-the-oven feeling without compromising the Kit Kat crunch.
FAQs
Can I use other chocolate bars instead of Kit Kat?
Absolutely! While Kit Kat adds a unique crunch and wafer texture, feel free to experiment with your favorite chocolate bars like Twix or Snickers for a different twist.
How do I make these brownies vegan?
Substitute butter with coconut oil, use flax eggs instead of chicken eggs, and ensure the chocolate you use is dairy-free to create a vegan version without sacrificing flavor.
Why are my brownies not fudgy?
Overbaking or overmixing can result in cakey brownies. Keep baking time precise and mix ingredients gently to ensure a moist, fudgy texture.
Can I add nuts to Kit Kat Brownies?
Yes, chopped walnuts or pecans can be folded into the batter for extra texture and nutty flavor that complements the rich chocolate and crispy Kit Kat pieces.
How long do Kit Kat Brownies keep fresh?
Stored in an airtight container at room temperature, these brownies stay fresh for about three days. For longer storage, freezing is your best option.
Final Thoughts
There’s something truly special about biting into a Kit Kat Brownie—the perfect blend of soft, rich chocolate with that unmistakable crispy crunch. Whether you’re treating yourself or surprising loved ones, this recipe is a joy to make and even more delightful to eat. So grab your ingredients, get baking, and experience the magic of Kit Kat Brownies firsthand!
Related Posts
PrintKit Kat Brownies

Kit Kat Brownies combine the rich, fudgy classic brownie flavor with the delightfully crunchy texture of Kit Kat pieces, creating an irresistible chocolate dessert perfect for any occasion. Easy to make and customizable, these brownies offer the ultimate chocolate fix with a fun twist.
- Prep Time: 15 minutes
- Cook Time: 25-30 minutes
- Total Time: 40-45 minutes
- Yield: 9-12 brownies 1x
- Category: Dessert
- Method: Baking
- Cuisine: American
- Diet: Vegetarian
Ingredients
Dry Ingredients
- 1 cup unsweetened cocoa powder
- 1 cup all-purpose flour
- 1/4 teaspoon salt
Wet Ingredients
- 1 cup granulated sugar
- 1/2 cup (1 stick) butter
- 2 large eggs
- 1 teaspoon vanilla extract
Add-ins and Topping
- 3 Kit Kat bars, broken into pieces (about 150g total)
- Optional: Extra chocolate chunks or chips
Instructions
- Prepare Your Ingredients and Oven: Preheat your oven to 350°F (175°C) and grease your baking pan or line it with parchment paper for easy removal. Gather all your ingredients measured and ready to ensure smooth mixing.
- Melt Butter and Mix with Sugar: In a medium saucepan, gently melt the butter over low heat. Remove from heat and stir in the granulated sugar until combined and slightly cooled.
- Add Eggs and Vanilla: Beat in the eggs one at a time, mixing well after each addition. Then stir in the vanilla extract to deepen the flavor.
- Combine Dry Ingredients: In a separate bowl, whisk together the cocoa powder, flour, and salt. Gradually fold this dry mix into the wet ingredients until just combined—do not overmix to keep the brownies tender.
- Add Chocolate and Kit Kat Pieces: Gently fold in half of the chopped Kit Kat bars and any additional chocolate chunks or chips you like, saving the other half for topping.
- Bake and Add Topping: Pour the batter into the prepared pan and spread evenly. Sprinkle the remaining Kit Kat pieces over the top. Bake for 25-30 minutes or until a toothpick inserted near the center comes out with moist crumbs but no raw batter.
- Cool and Serve: Allow the brownies to cool completely in the pan before slicing. This helps the Kit Kat pieces set nicely and keeps the slices intact.
Notes
- Use room temperature eggs for a smoother batter and fluffier brownies.
- Don’t overmix to avoid tough brownies; fold dry ingredients gently.
- Use high-quality cocoa powder for the best chocolate flavor.
- Let brownies cool for at least an hour to let Kit Kat pieces harden for the perfect crunch.
- Chop Kit Kat bars evenly to distribute crunch throughout the brownies.
Nutrition
- Serving Size: 1 brownie (approx.)
- Calories: 280
- Sugar: 23g
- Sodium: 110mg
- Fat: 14g
- Saturated Fat: 8g
- Unsaturated Fat: 5g
- Trans Fat: 0g
- Carbohydrates: 34g
- Fiber: 3g
- Protein: 3g
- Cholesterol: 55mg
Keywords: brownies, Kit Kat brownies, chocolate dessert, fudgy brownies, chocolate treat, easy brownies, dessert recipe