Easy Homemade Cheez-Its for Snack Lovers
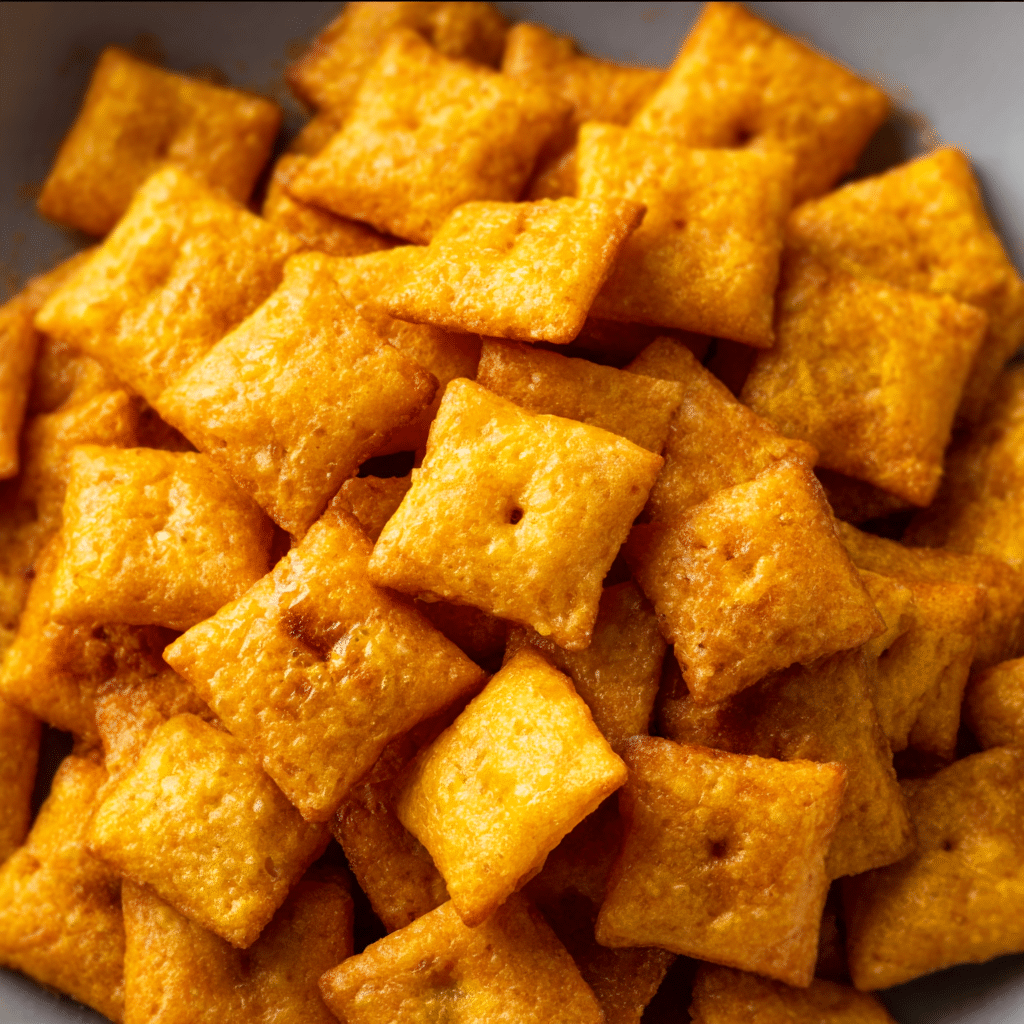
Crunchy, cheesy, and baked to perfection, Homemade Cheez-Its are the ultimate snack that brings all the comfort and flavor of your favorite store-bought cracker with the warmth and satisfaction of something made by your own hands. Whether you’re gearing up for a movie night, packing school lunches, or just craving a crispy, cheesy bite, this recipe is your new go-to for snack lovers everywhere. Easy to customize and incredibly addictive, Homemade Cheez-Its are a treat that anyone can whip up right in their kitchen.
Why You’ll Love This Recipe
- Simple Ingredients: Uses everyday pantry items to create a snack that tastes gourmet.
- Customizable Flavors: Easily adjust cheese type and seasonings to suit your cravings.
- Crunchy Texture: Baked until perfectly crisp to satisfy every snack attack.
- Kid-Friendly: Fun to make with children and loved by all ages.
- Store-Bought Taste, Homemade Benefits: Enjoy fresh, preservative-free crackers anytime.
Ingredients You’ll Need
This recipe combines a few essential ingredients that come together to create those iconic cheesy crackers. Each element plays a vital role, whether it’s building flavor, texture, or the beautiful golden color you expect from a perfect Cheez-It.
- Sharp Cheddar Cheese: The star of the show, providing bold, tangy flavor and richness.
- All-Purpose Flour: Forms the dough’s structure for that ideal crunch.
- Butter: Adds moisture and a subtle, creamy taste for tender bites.
- Salt: Enhances all the flavors and balances the cheese’s richness.
- Cold Water: Helps bring the dough together without overworking it.
- Optional Spices: A pinch of paprika or garlic powder can add a new depth.
Variations for Homemade Cheez-Its
Don’t be shy about making this recipe your own! Homemade Cheez-Its are incredibly versatile and can easily be tweaked to meet dietary needs, experiment with flavors, or simply surprise your taste buds.
- Gluten-Free Option: Substitute all-purpose flour with a gluten-free blend for a safe treat.
- Spicy Kick: Add cayenne pepper or chili flakes for a spicy, bold twist.
- Herbed Delight: Mix in dried herbs like rosemary or thyme for an aromatic flair.
- Vegan Version: Use a plant-based butter and vegan cheddar cheese substitute to keep it dairy-free.
- Extra Sharp Cheddar: Use an aged cheddar for a more intense and tangy flavor profile.

How to Make Homemade Cheez-Its
Step 1: Prepare the Dough
Start by grating your sharp cheddar cheese finely, then combine it with the flour and salt in a mixing bowl. Cut cold butter into small pieces and incorporate it into the dry ingredients using your fingers or a pastry cutter until the mixture resembles coarse crumbs. Gradually add cold water, a tablespoon at a time, until the dough just comes together without being sticky.
Step 2: Roll Out the Dough
Lightly flour your surface and roll the dough out to about 1/8 inch thickness. The thinness is crucial for that perfect crunch and crispness after baking. Try to keep an even layer to ensure uniform baking.
Step 3: Cut the Crackers
Using a small square cookie cutter or a sharp knife, cut the dough into 1-inch squares. Don’t forget to poke a small hole in the center of each square with a skewer or toothpick—it’s the signature look and helps them bake evenly!
Step 4: Bake to Golden Perfection
Arrange the squares on a parchment-lined baking sheet, spacing them slightly apart. Bake in a preheated oven at 350°F (175°C) for 12 to 15 minutes, or until the crackers turn a gorgeous golden color. Keep an eye on them so they don’t burn.
Step 5: Cool and Enjoy
Once baked, allow the crackers to cool completely on a wire rack. This step ensures they crisp up fully and reach that irresistible Homemade Cheez-Its crunch everyone loves.
Pro Tips for Making Homemade Cheez-Its
- Use Cold Ingredients: Keep your butter and water chilled to achieve a flaky, crisp texture.
- Grate Cheese Fresh: Freshly grated cheese melts better and results in a richer flavor.
- Even Thickness: Roll the dough uniformly to avoid some crackers being undercooked or overdone.
- Don’t Overwork Dough: Handle the dough lightly to keep your crackers tender.
- Store Properly: Keep them in an airtight container once cooled to maintain freshness.
How to Serve Homemade Cheez-Its
Garnishes
Add a sprinkle of flaky sea salt, cracked black pepper, or a dash of smoked paprika right after baking for that extra pop of flavor that makes your crackers irresistible.
Side Dishes
Pair your Homemade Cheez-Its with creamy dips like hummus, guacamole, or a spicy salsa to elevate your snacking experience with a savory complement.
Creative Ways to Present
Serve Homemade Cheez-Its in decorative bowls for parties, or layer them alongside cheese platters or charcuterie boards to impress guests with homemade charm.
Make Ahead and Storage
Storing Leftovers
After cooling completely, store your Homemade Cheez-Its in an airtight container at room temperature. They’ll keep their crispness for up to one week, making them perfect for easy grab-and-go snacks.
Freezing
You can freeze unbaked dough wrapped tightly in plastic wrap for up to one month. Thaw it in the fridge overnight before rolling and baking as usual, so you always have fresh crackers on hand.
Reheating
If your crackers lose some crispness, simply reheat them in a 300°F (150°C) oven for 3 to 5 minutes to refresh that delightful crunch without drying them out.
FAQs
Can I use a different type of cheese for Homemade Cheez-Its?
Absolutely! While sharp cheddar is classic, you can experiment with cheeses like Parmesan, Gouda, or pepper jack to create delicious variations.
How thin should I roll the dough for the best texture?
Rolling the dough to about 1/8 inch thickness is ideal to achieve that signature crispness without burning during baking.
Are Homemade Cheez-Its gluten-free?
The traditional recipe uses all-purpose flour, which contains gluten. However, you can substitute with a gluten-free flour blend to make this snack suitable for gluten-free diets.
Can I make these without butter?
Butter adds richness and helps with texture, but you can try using a dairy-free margarine or coconut oil as a substitute for a different flavor profile.
How long do Homemade Cheez-Its last?
Stored properly in an airtight container, they stay fresh and crunchy for about a week at room temperature.
Final Thoughts
Making Homemade Cheez-Its is not only satisfying but also a fantastic way to enjoy a beloved snack with the comfort of knowing exactly what’s in it. These crispy, cheesy crackers are endlessly customizable and sure to become a treasured staple in your snack rotation. Give this recipe a try and watch how quickly they disappear from the bowl—snack lovers everywhere are going to thank you!