Easy No-Bake Cheesecake Pops You’ll Love
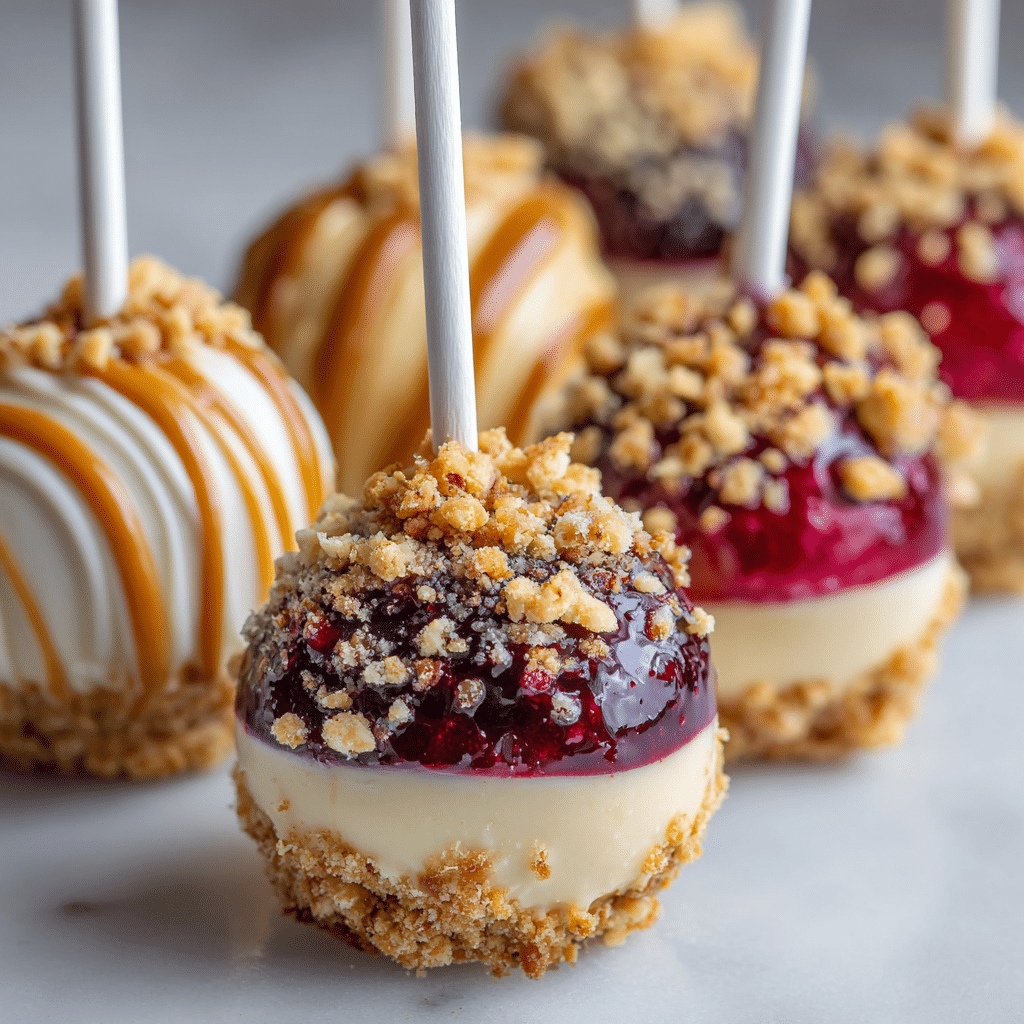
If you’re craving a sweet treat that’s rich, creamy, and fun to eat, look no further than these No-Bake Cheesecake Pops. They combine the classic tangy flavor of cheesecake with the ease and charm of bite-sized pops. Perfect for any occasion, these adorable dessert bites satisfy sweet tooth cravings with minimal effort, no oven needed, and maximum flavor delivered in every pop. Whether you’re hosting a party or simply indulging, you’ll be delighted with how simple and delicious these pops can be!
Why You’ll Love This Recipe
- Effortless preparation: No baking required, making it perfect for quick dessert fixes.
- Kid-friendly fun: Pops on sticks add a playful twist kids will love helping with and eating.
- Customizable flavors: Easily adapted with your favorite toppings or mix-ins.
- Perfect portion control: Bite-sized treats prevent dessert overload while still satisfying cravings.
- Eye-catching presentation: Gorgeous and colorful pops make your dessert table pop with style.
Ingredients You’ll Need
The ingredients for No-Bake Cheesecake Pops are refreshingly simple, focusing on quality and flavor. Each element plays an essential role, from creamy texture to the perfect sweetness and a crunchy, colorful coating that brings these pops to life.
- Cream Cheese: Provides the signature creamy cheesecake base and tangy flavor.
- Granulated Sugar: Sweetens the batter just right without overpowering the tanginess.
- Vanilla Extract: Adds warm, aromatic notes that deepen the flavor profile.
- Whipped Cream: Lightens the cheesecake mixture for melt-in-your-mouth softness.
- Graham Cracker Crumbs: Give pops a subtle crunch and classic cheesecake crust flavor.
- Chocolate or Candy Melts: For dipping and decorating, providing a colorful and tasty outer shell.
- Sprinkles or Crushed Nuts: Optional toppings for a fun, personalized finish.
- Lollipop Sticks: To hold your cheesecake pops without the mess.
Variations for No-Bake Cheesecake Pops
Feel free to get creative with this recipe! No-Bake Cheesecake Pops are incredibly versatile, making it easy to tailor them to dietary preferences, seasonal flavors, or personal taste trends.
- Chocolate lovers’ twist: Add cocoa powder to the cheesecake mix for a rich chocolate version.
- Fruit infusion: Mix in fresh berries or swirl in fruit preserves for a natural sweetness and vibrant color.
- Nutty crunch: Roll pops in crushed almonds, pistachios, or pecans instead of sprinkles.
- Gluten-free option: Use gluten-free graham cracker crumbs or almond flour for the crust.
- Vegan adaptation: Swap cream cheese and whipped cream with plant-based alternatives.

How to Make No-Bake Cheesecake Pops
Step 1: Prepare the Cheesecake Mixture
Beat softened cream cheese and sugar together until smooth and creamy. Stir in vanilla extract for added warmth. Gently fold whipped cream into the mixture to lighten the texture, creating that irresistible, airy cheesecake base.
Step 2: Form the Pops
Combine graham cracker crumbs with a small portion of the cheesecake mixture. Now, scoop out bite-sized balls from the main cheesecake batter, rolling them gently between your palms to create smooth, round pops. Insert lollipop sticks carefully into each ball, ensuring they hold firmly.
Step 3: Chill to Set
Place the cheesecake pops on a parchment-lined tray and refrigerate for at least 2 hours. This chilling time helps them set and firm up, making the coating process easier and the texture perfect for popping into your mouth.
Step 4: Dip and Decorate
Melt your choice of chocolate or candy melts in a microwave-safe bowl. Dip each chilled cheesecake pop into the melted coating, shake off excess, and immediately sprinkle with your favorite toppings before the coating hardens.
Step 5: Final Chill and Serve
Once decorated, place the pops back into the fridge for about 30 minutes to allow the coating to fully set. Serve chilled, and enjoy the luscious creaminess bundled in a perfectly coated bite.
Pro Tips for Making No-Bake Cheesecake Pops
- Soften cream cheese well: Softened cream cheese blends smoothly for a creamy texture without lumps.
- Use chilled pops for dipping: Cold cheesecake balls help melted chocolate set faster and reduce mess.
- Don’t skip the parchment paper: Prevents sticking and makes cleanup effortless.
- Work quickly when dipping: Candy coating can harden fast; prep all pops before melting chocolate.
- Customize toppings right after dipping: Sprinkle toppings before the coating sets to ensure they stick.
How to Serve No-Bake Cheesecake Pops
Garnishes
Simple garnishes like fresh mint sprigs, edible flowers, or a dusting of powdered sugar elevate the pops’ appearance, making them party-ready and irresistible to the eyes and palate alike.
Side Dishes
Pair these delightful pops with fresh fruit platters, berry compotes, or even a scoop of sorbet for a balanced dessert spread that completes the creamy richness of the cheesecake.
Creative Ways to Present
Serve pops displayed like a bouquet in a decorative vase filled with colored sugar or candies, or arranged neatly on a tiered cake stand to impress your guests with style and ease.
Make Ahead and Storage
Storing Leftovers
Place leftover No-Bake Cheesecake Pops in an airtight container and refrigerate for up to 4 days. Keeping them chilled maintains their creamy texture and fresh flavor.
Freezing
You can freeze uncoated cheesecake balls for up to 1 month. Thaw in the fridge before dipping and decorating to keep the pops fresh without sacrificing texture.
Reheating
No reheating is needed for these delightful cheesecake pops; simply enjoy them cold right from the refrigerator. This ensures the best taste and texture every time.
FAQs
Can I use regular cream cheese or should it be low-fat?
Regular cream cheese gives the best creamy and rich flavor, but you can use low-fat if you prefer a lighter version with slightly reduced richness.
What if I don’t have lollipop sticks?
You can substitute with sturdy wooden skewers or even small spoons, but lollipop sticks are ideal for easy handling and the classic pop look.
Can I make the pops ahead for a party?
Absolutely! Prepare them a day in advance, keep them chilled and decorated in the refrigerator, ensuring they’re fresh and ready to impress your guests.
Are these pops suitable for freezing after being dipped?
It’s best to freeze the pops before dipping; coated pops can crack or become chalky when frozen and thawed.
How do I prevent the coating from cracking?
Make sure the cheesecake pops are cold but not frozen before dipping, and dip quickly to avoid cracking as the coating cools and sets.
Final Thoughts
Now that you have this easy, delightful recipe for No-Bake Cheesecake Pops, it’s time to bring these creamy, sweet bites into your kitchen routine. They’re a fantastic way to enjoy cheesecake in a fun, poppable form that’s certain to brighten any day or occasion. Dive in, experiment with your favorite flavors, and share this tasty treat with loved ones—because life tastes better with a little cheesecake on a stick!