Easy Mini Pavlova Recipe with Whipped Cream and Fresh Berries
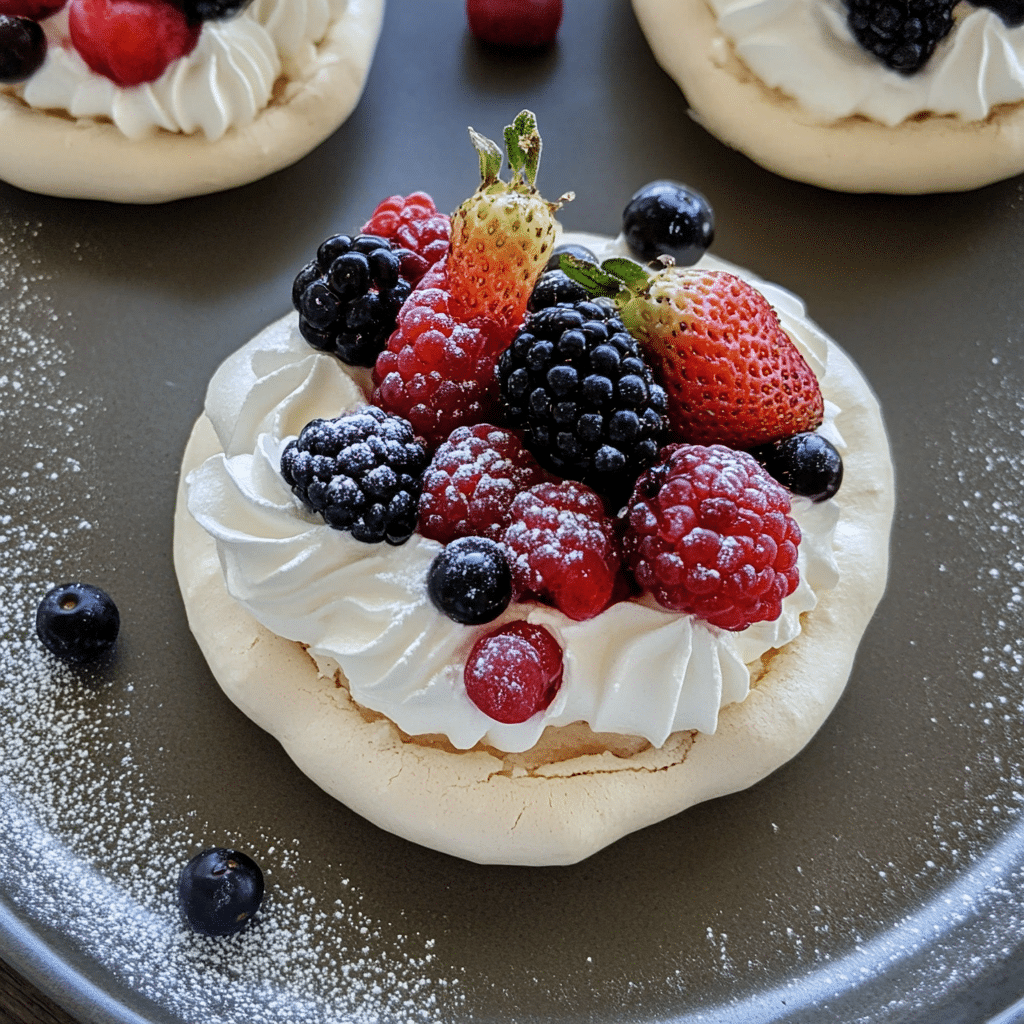
If you’ve been searching for a delightful yet simple dessert to wow your friends or family, this Mini Pavlova Recipe with Whipped Cream and Fresh Berries is exactly what you need. Light, sweet, and beautifully layered with fluffy meringue, cloud-like whipped cream, and vibrant fresh berries, this treat is a breeze to make and perfect for practically any occasion. Whether it’s a weekend gathering or a special celebration, these petite pavlovas bring a touch of elegance without any fuss.
Why You’ll Love This Recipe
- Effortlessly Elegant: This Mini Pavlova Recipe with Whipped Cream and Fresh Berries looks impressive but is surprisingly easy to prepare.
- Light and Fresh Flavors: The combination of airy meringue, creamy whipped topping, and juicy berries creates a perfectly balanced dessert.
- Customizable: You can switch up the berries or toppings to fit seasonal fruits or dietary preferences with ease.
- Perfect Portion Sizes: Individual pavlovas mean everyone gets their own beautiful portion, reducing mess and waste.
- Great for All Skill Levels: Whether you’re a baking newbie or a pro, this recipe guides you through simple steps for guaranteed success.
Ingredients You’ll Need
The beauty of this Mini Pavlova Recipe with Whipped Cream and Fresh Berries lies in its simple ingredients that come together to create layers of flavor and texture. Each component is essential, from the crisp meringue base to the smooth whipped cream and the burst of fresh berries adding color and freshness.
- Egg Whites: Use room temperature egg whites for a more stable meringue that whips to stiff peaks.
- Granulated Sugar: Adds sweetness and helps create a shiny, crisp meringue exterior.
- Cornstarch: Keeps the meringue soft inside while maintaining its crisp shell.
- White Vinegar or Lemon Juice: Stabilizes the egg whites and enhances the texture of the pavlova.
- Heavy Cream: For whipping into soft, fluffy cream to top the pavlovas.
- Vanilla Extract: Adds a warm, sweet note to the whipped cream.
- Fresh Berries: Strawberries, blueberries, raspberries, or blackberries add vibrant color and tart sweetness.
- Optional Mint Leaves: For a refreshing garnish that pairs beautifully with the berries.
Variations for Mini Pavlova Recipe with Whipped Cream and Fresh Berries
One of the most fun things about this Mini Pavlova Recipe with Whipped Cream and Fresh Berries is how easily you can tweak and tailor it to your taste or dietary needs. Feel free to experiment with toppings, add flavors, or swap out ingredients as you like!
- Tropical Twist: Top with passion fruit pulp, kiwi slices, and toasted coconut for an exotic vibe.
- Chocolate Lover’s Version: Drizzle melted dark chocolate or sprinkle cocoa powder over the whipped cream.
- Nutty Crunch: Add finely chopped pistachios or toasted almonds for extra texture and flavor.
- Vegan Adaptation: Use aquafaba to whip into meringue and coconut whipped cream for the topping.
- Seasonal Swaps: Use stone fruits like peaches or nectarines in summer, or poached pears for a fall twist.

How to Make Mini Pavlova Recipe with Whipped Cream and Fresh Berries
Step 1: Prepare Your Oven and Baking Sheet
Preheat your oven to 250°F (120°C) and line a baking sheet with parchment paper. You’ll want to draw small circles as a guide for each mini pavlova, about 3 inches in diameter, spaced well apart to avoid sticking.
Step 2: Whip the Egg Whites
Using a clean bowl and a mixer, beat the egg whites on medium speed until soft peaks form. Gradually add granulated sugar, one tablespoon at a time, while increasing the mixer speed to high. Continue whipping until the meringue is glossy and stiff peaks form, meaning it holds a peak that doesn’t fall over.
Step 3: Add Cornstarch and Vinegar
Gently fold in the cornstarch and vinegar (or lemon juice) with a spatula to stabilize the mixture. These will help the pavlovas keep their structure with a crisp outside and marshmallow-like center.
Step 4: Form the Mini Pavlovas
Spoon or pipe the meringue onto the parchment circles, shaping it with a slight well or hollow in the center to hold the whipped cream later. Smooth the edges but keep it a bit rustic for charm.
Step 5: Bake Low and Slow
Bake the meringues at 250°F (120°C) for about 60-70 minutes until dry to the touch and easily lifts from the parchment. Turn off the oven and let them cool inside to prevent cracking.
Step 6: Whip the Cream
While pavlovas cool, whip cold heavy cream with vanilla until soft peaks form. Be careful not to overwhip or the cream will turn buttery.
Step 7: Assemble and Top
Just before serving, dollop whipped cream onto each mini pavlova’s center and top generously with fresh berries. Garnish with mint leaves if desired for a pop of green.
Pro Tips for Making Mini Pavlova Recipe with Whipped Cream and Fresh Berries
- Use Room Temperature Egg Whites: They whip more easily and reach higher volume.
- Add Sugar Slowly: Gradual incorporation helps create a stable and glossy meringue.
- Don’t Open Oven Early: Pavlovas are delicate and can collapse if the oven door is opened too soon.
- Cool Pavlovas in Oven: Leaving them in to cool reduces cracking and keeps them light.
- Serve Immediately After Assembling: Meringues can soften if topped too early with whipped cream.
- Use Fresh, Seasonal Berries: They provide the best flavor and texture contrast.
How to Serve Mini Pavlova Recipe with Whipped Cream and Fresh Berries
Garnishes
Fresh mint leaves are a classic garnish that adds a breath of freshness. You can also sprinkle a light dusting of powdered sugar or shave some white chocolate on top for added elegance.
Side Dishes
Pair these mini pavlovas with a cup of hot tea, sparkling wine, or chilled champagne to complement the sweetness. Light salads with citrus vinaigrette also balance the richness beautifully.
Creative Ways to Present
Serve the mini pavlovas on individual dessert plates with decorative berry arrangements or on a tiered dessert stand for a stunning display. Adding edible flowers enhances the visual appeal and makes your presentation pop.
Make Ahead and Storage
Storing Leftovers
Keep any leftover meringues in an airtight container at room temperature for up to 2 days, but avoid refrigerating them as moisture will soften the crisp exterior.
Freezing
You can freeze baked meringue shells for up to 1 month, stored in an airtight container separated by parchment paper. Thaw at room temperature before topping with whipped cream and berries.
Reheating
To refresh crispness, briefly warm pavlovas in a low oven (around 200°F or 90°C) for 5 minutes, but only if they’ve softened. Avoid reheating with toppings.
FAQs
Can I use powdered sugar instead of granulated sugar?
Granulated sugar works best to create the proper texture and structure in meringues, but superfine sugar can be substituted if needed. Powdered sugar is not recommended as it contains starch that can affect the texture.
Can I make this recipe dairy-free?
Yes! Replace heavy cream with coconut whipped cream or another dairy-free alternative to keep the dessert light and creamy while accommodating dairy-free diets.
Why did my pavlova crack?
Cracking typically happens due to sudden temperature changes or opening the oven door early. Cooling the pavlovas slowly inside the oven helps prevent cracks.
How long can I prepare Mini Pavlova Recipe with Whipped Cream and Fresh Berries in advance?
You can bake the meringue shells up to a few days ahead and store them airtight. Whip the cream and assemble just before serving to keep the meringue crisp.
What is the difference between pavlova and meringue?
Pavlova is a type of meringue dessert with a crisp crust and soft, marshmallow-like interior, traditionally topped with cream and fruit. Regular meringue cookies are usually fully crisp and dry throughout.
Final Thoughts
This Mini Pavlova Recipe with Whipped Cream and Fresh Berries is a shining star of desserts—airy, sweet, and vibrant. Once you’ve tried making these charming little pavlovas yourself, you’ll see how easy it is to impress with minimal effort. Give it a go and watch how it becomes your new favorite to bring joy to any table!